An address like info@yourbusiness.com does something a personal Gmail cannot: it puts your own domain in front of every client you write to. Google Workspace and Microsoft 365 both do that well, and both bill you per user per month. Zoho Mail’s Forever Free plan does it for nothing, on your domain, for up to five people. This guide covers the whole setup, from signing up to getting the DNS records right.
- Sign up for Zoho Mail — Use their Forever Free plan to get started at zero cost
- Add and verify your domain — Connect your domain using a TXT record in your DNS settings
- Create up to 5 business emails — Set up custom emails like info@ or support@ for your team
- Configure DNS records — Add MX, SPF, and DKIM so your emails send and receive properly
- Migrate your old emails — Move existing Gmail or Google Workspace emails over in minutes
Why Do You Need a Business Email?
A personal Gmail is fine for everyday use. It works against you the moment you send a quote, an invoice, or a cold pitch, because the recipient has no way to tell your business apart from anyone else with a free account. A custom business email on your own domain answers that question before they read a word, and the research bears it out.
A branded email address may be able to help, as an overwhelming number of respondents (85%) agreed that a business with a branded email address is more credible than one that uses a free email account.
— Verisign
What Do You Need Before You Start?
Setting up a free business email takes one prerequisite: a domain name. That is your business’s web address, such as clubunbrick.co, and your email is built on top of it. If you do not have one yet, start here:
Also Read: The Complete Guide to Choosing and Registering a Domain Name
Registrars like Namecheap, GoDaddy, or Hostinger sell domains for roughly $10 to $15 a year. A .com carries the most trust by default, though a local extension like .co.ke works just as well when your customers are all in one country.
Setting Up Your Free Business Email with Zoho Mail
Zoho Mail’s Forever Free plan covers one domain, up to five users, and 5 GB of mail storage each, with no card required at sign-up. There is one real limitation worth knowing before you commit: the free tier is webmail and mobile app only. IMAP, POP, and Exchange ActiveSync are paid features, so you cannot point Outlook or Thunderbird at a free mailbox. For a small team that already works in a browser and on a phone, that rarely matters.
Step 1 — Sign Up for Zoho Mail
Open the Zoho Mail pricing page, scroll down to the Forever Free plan, and hit Sign Up. You register with your existing personal address; the branded one comes later.
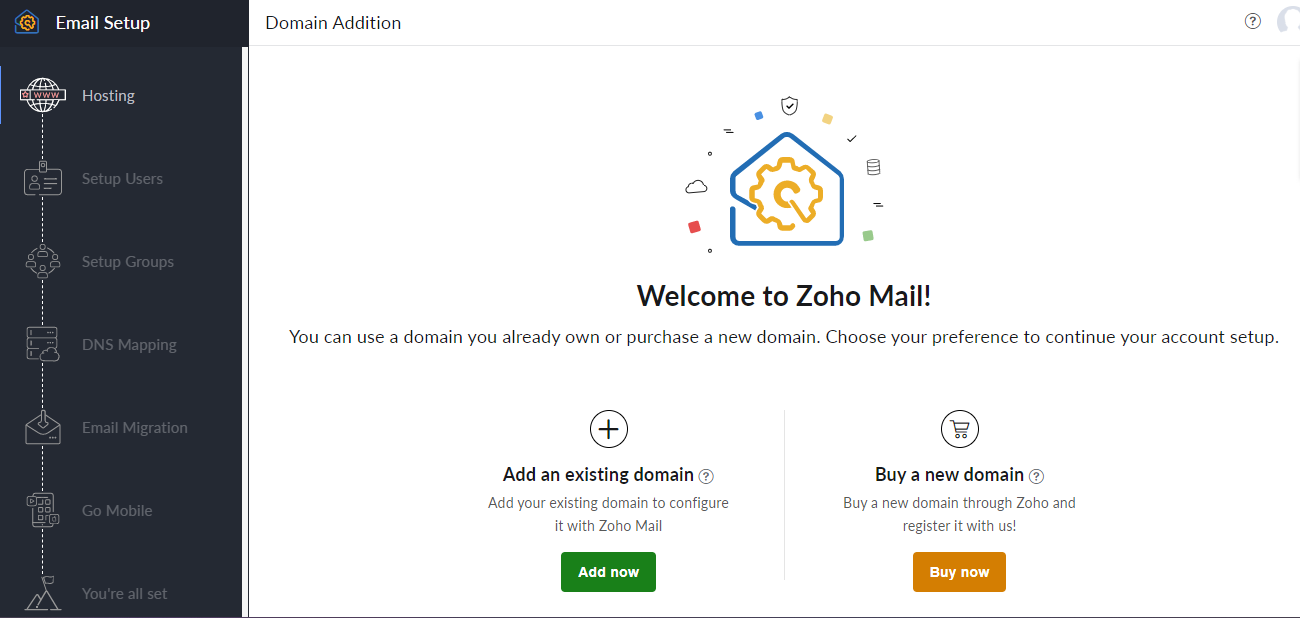
Step 2 — Add Your Domain
Once you are signed in, Zoho asks which domain you want mail on. Type it in, for example clubunbrick.co, and continue. Still shopping for a name? Check whether it is already taken with ICANN Lookup, or search directly at Namecheap or GoDaddy. A global extension like .com and a local one like .co.ke both work here.
Step 3 — Verify Your Domain (DNS Verification)
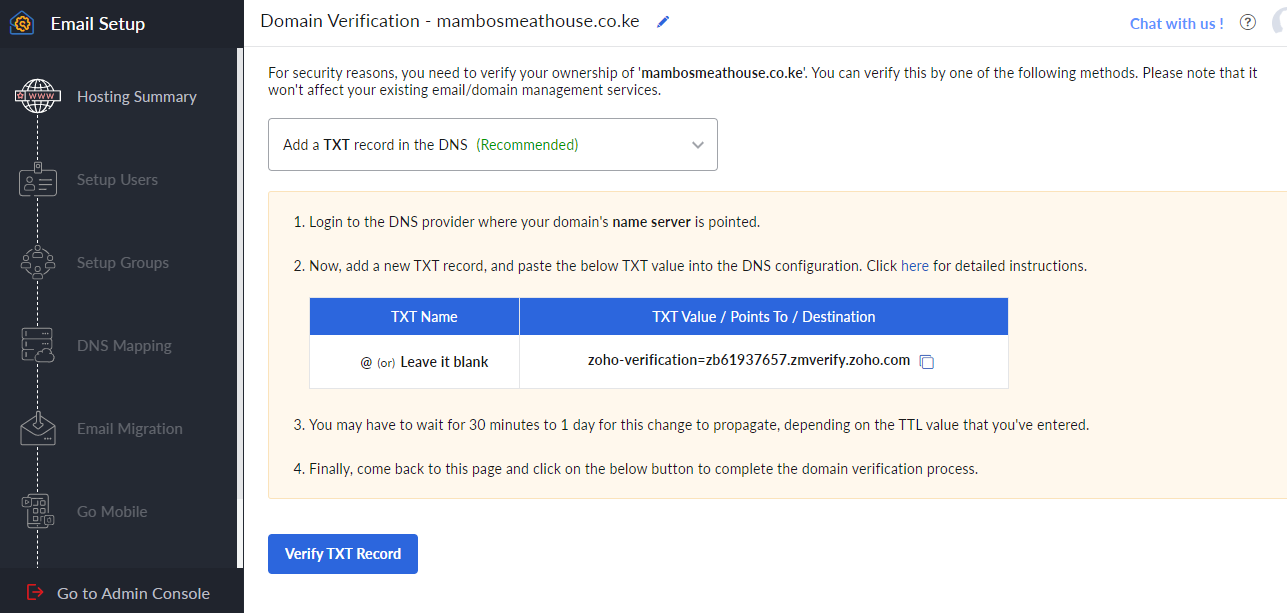
Zoho now needs proof that the domain is actually yours, which it gets by asking you to publish a record only the domain’s owner could publish. That is DNS verification. DNS, the Domain Name System, is the directory that turns a domain name into the server addresses behind it, mail servers included.
The TXT method is the simplest route:
- Copy the TXT record value that Zoho gives you
- Log into your hosting or DNS provider’s control panel and open the DNS Zone Editor
- Add a new TXT record and paste the value
- Go back to Zoho and click Verify TXT Record
Also Read: Domain Verification in Zoho Mail
Step 4 — Create Your Super Admin Account
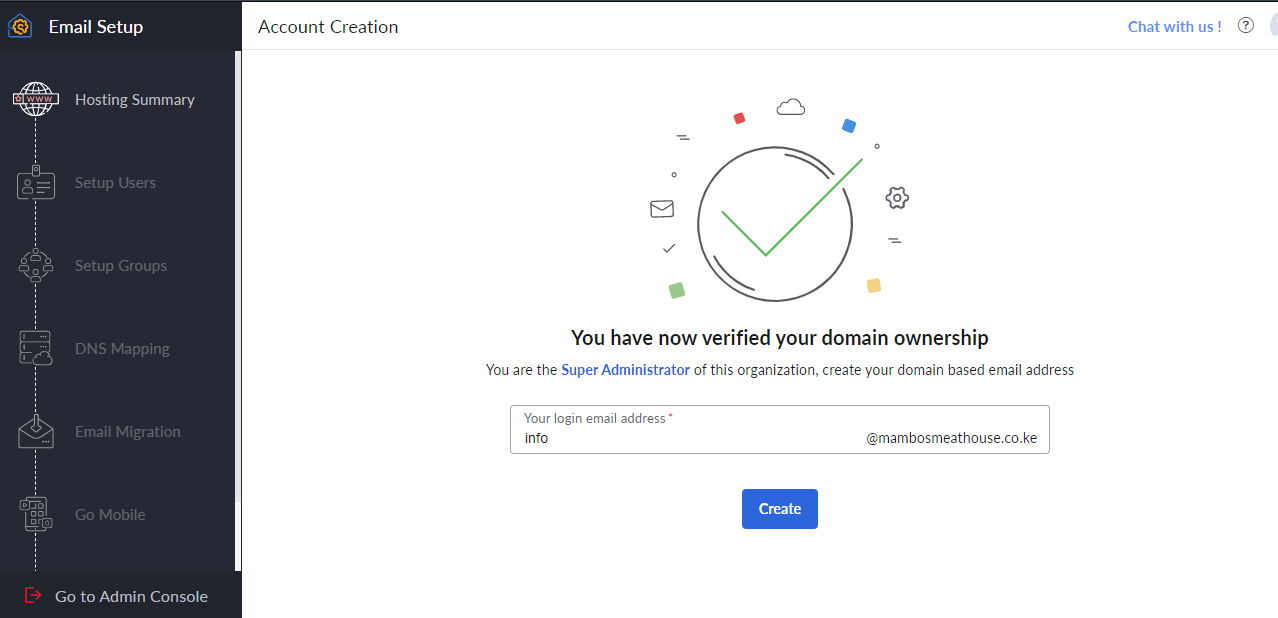
Next you create the main administrator mailbox, which becomes your primary business email address. Pick a prefix that fits how you want to be read:
- info@ — Best for general inquiries
- support@ — Great for customer service
- hello@ — A friendlier, more casual feel
Step 5 — Set Up Users
The free plan gives you five mailboxes in total, so you can hand out addresses by role or by person: sales@, support@, or hr@yourbusiness.com. Mailbox settings, anti-spam filters, and per-account security controls are all editable later, so there is no need to get every detail right now.
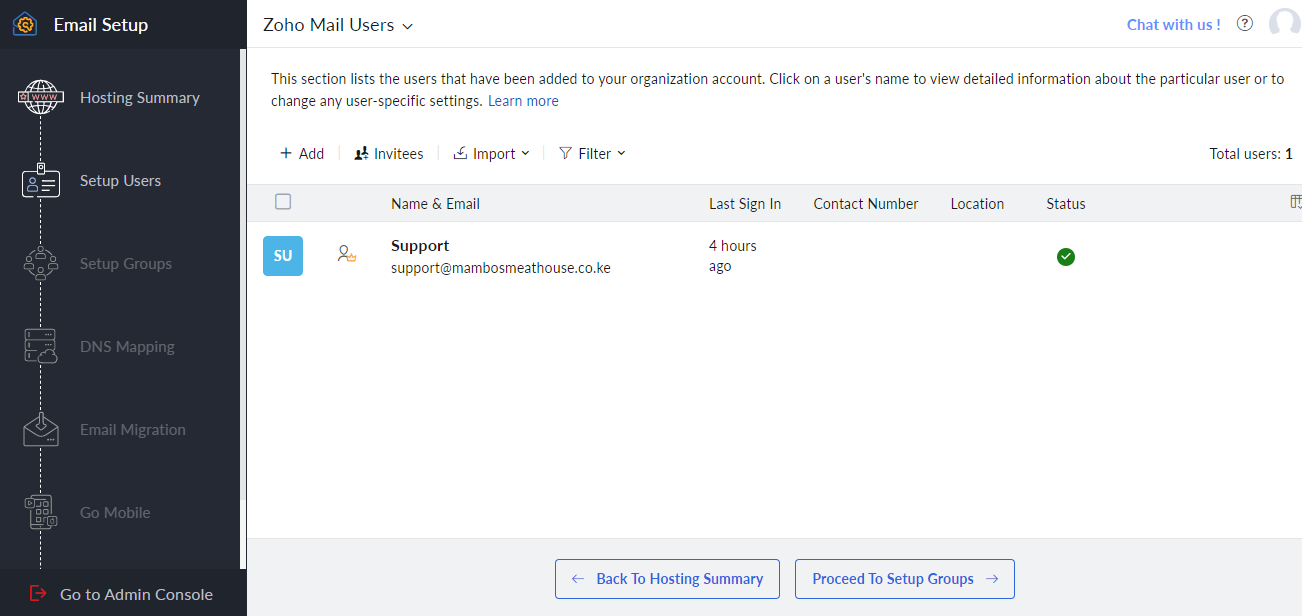
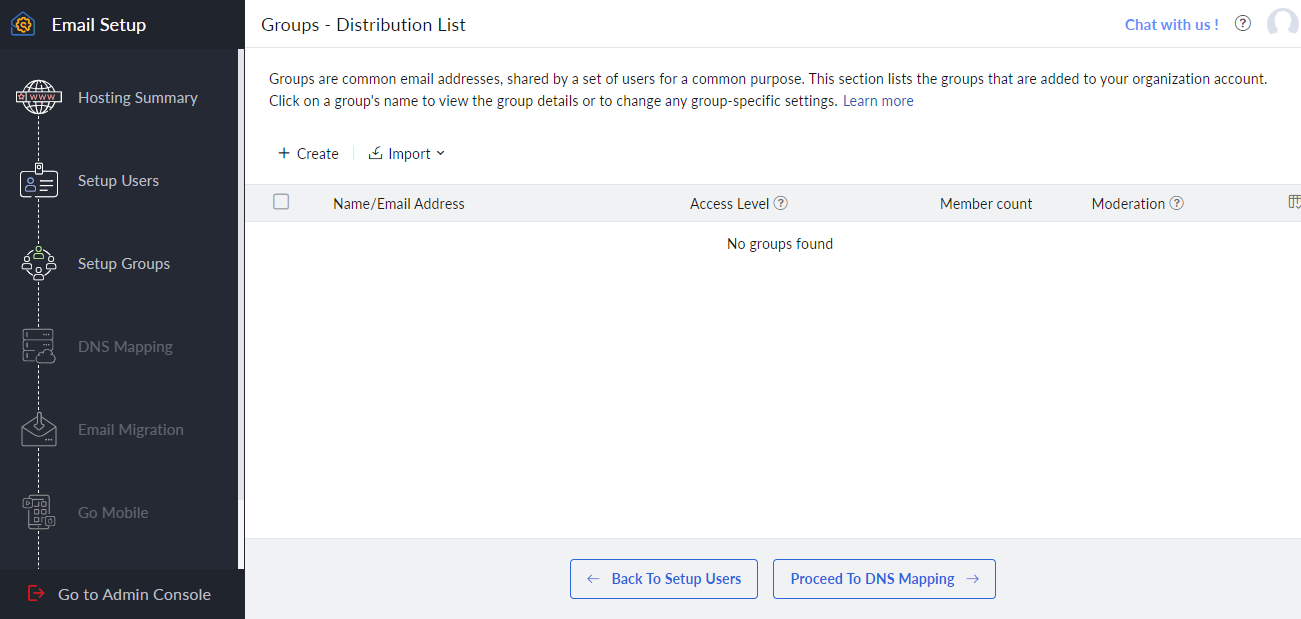
Step 6 — Set Up Groups (Optional)
Email groups are shared addresses that fan out to several people at once. Mail to hr@yourbusiness.com, for instance, can land in every HR inbox rather than one person’s. Skip this step if you do not need it; groups can be added at any point later.
DNS Mapping — Making Your Emails Work Properly
Verifying the domain proved you own it. The records below decide whether mail actually reaches you, whether what you send survives the recipient’s spam filter, and what happens to messages that try to impersonate you. Here is what each one does, what you enter, and the mistake that catches people out.
| Record | What it does | What you add | Easy to get wrong |
|---|---|---|---|
| MX Mail Exchange | Points other mail servers at your provider’s mail servers when they have mail addressed to your domain | One or more MX records with a hostname and priority, supplied by your mail provider | The lower priority number wins. An MX record left behind by your old provider, sitting at a lower priority, quietly takes your mail instead of the new one. |
| SPF Sender Policy Framework | Publishes the list of servers allowed to send mail using your domain | One TXT record in the form v=spf1 include:yourprovider.example ~all | A domain may only have one SPF record. If one already exists, merge your provider’s include into it rather than adding a second. |
| DKIM DomainKeys Identified Mail | Signs every outgoing message so the recipient can confirm it came from you and was not tampered with | A TXT record at the selector your provider gives you, e.g. selector._domainkey, holding the public key they generate | Publishing the record is half the job. Most providers also need the selector marked active in their own console, or nothing actually gets signed. |
| DMARC Domain-based Message Authentication, Reporting & Conformance | Tells receiving servers what to do with mail that fails SPF or DKIM — let it through, quarantine it, or reject it — and where to send reports about who is sending as you | One TXT record at _dmarc.yourdomain.com, typically starting at v=DMARC1; p=none; rua=mailto:you@yourdomain.com | Jumping straight to p=reject before you have reviewed the reports can silently block your own legitimate mail if SPF or DKIM is even slightly off. |
One detail no guide can give you, this one included: the MX hostnames vary with the data centre your account was created in, so copy the exact values from Tools & Configurations in the Zoho Admin Console rather than from a screenshot. With MX, SPF, and DKIM in place you also close off the impersonation trick behind most phishing and fake-website scams: a stranger sending mail that appears to come from your domain.
Domains that have not set up SPF, DKIM, and DMARC correctly may find that their emails get quarantined as spam, or are not delivered to their recipients. They are also in danger of having spammers impersonate them.
— Cloudflare
What This Looks Like on Our Own Domain
We are not describing this from the documentation. The address in the footer of this page, info@clubunbrick.co, is a Zoho mailbox on our own domain, set up the way this guide describes. Because DNS is public, you can check every claim in this section yourself with any WHOIS or DNS lookup tool, which is more than most tutorials will let you do.
Query clubunbrick.co today and you get back:
- Three MX records —
mx.zoho.comat priority 10,mx2.zoho.comat 20,mx3.zoho.comat 50. The exact priorities from the table above, in that order - One SPF record —
v=spf1 include:zohomail.com ~all, character for character what Zoho asks for - The
zoho-verificationTXT record from Step 3, still published. You can safely delete it once the domain is verified; we left ours in place because it costs nothing and saves a round trip if the domain is ever detached and re-added - A DMARC record at
p=none— the monitoring-only starting position recommended below, not the strict enforcement policy people tend to jump to first
None of that is impressive. That is rather the point: a working business email setup is five DNS records that stay boring for years. The only stage that ever demanded attention was getting the records right on the first pass, which is why the "easy to get wrong" column above exists.
What TTL Should You Set on Email DNS Records?
TTL (Time to Live) tells other servers how many seconds to cache a DNS answer before checking again. It bites when you change a record, because until the cached copy expires, some servers keep using the old one. Zoho recommends setting the lowest value your DNS editor allows while you are configuring, so a typo costs you minutes instead of hours. Put it back to an hour or two once mail is flowing.
Do You Need a DMARC Record?
MX, SPF, and DKIM are enough to send and receive. DMARC is the fourth record, and it tells receiving servers what to do with a message that fails the other checks: let it through, quarantine it, or reject it outright. It is no longer optional in practice. Since 1 February 2024, Google has required every sender to Gmail to authenticate with SPF or DKIM, and anyone sending more than 5,000 messages a day to publish DMARC as well. Start at p=none, which asks for reports without changing how anything is delivered, then tighten it once you can see who is sending as you.
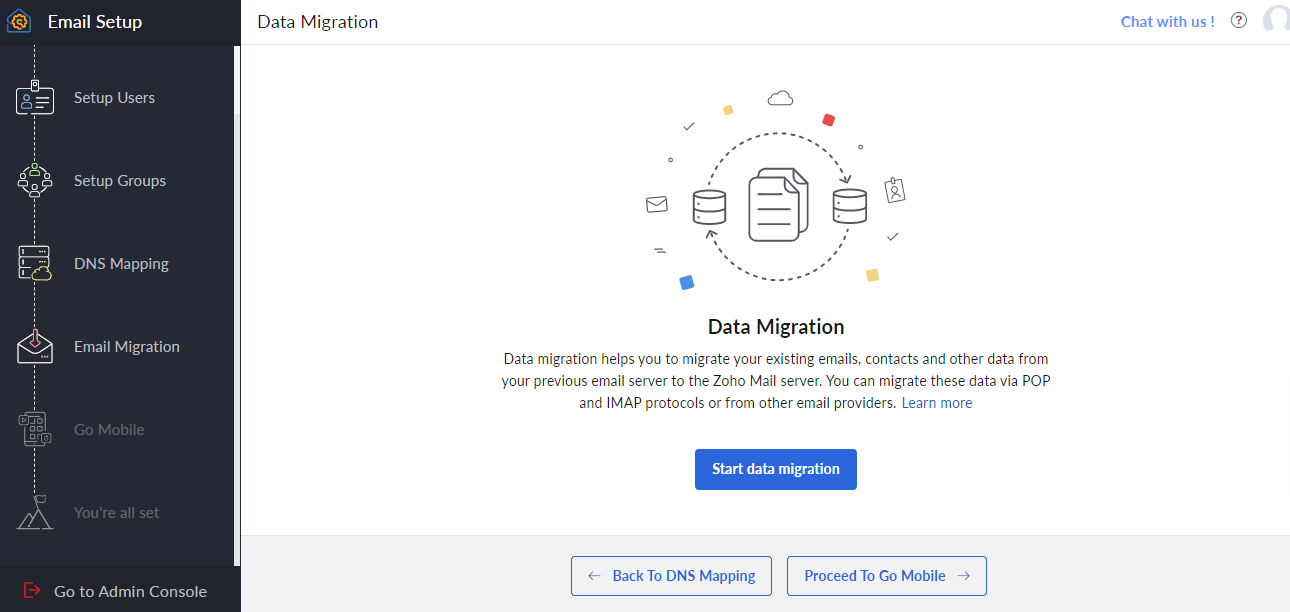
Migrating Your Existing Emails
If your mail currently lives in Gmail or Google Workspace, Zoho’s built-in migration tool brings it across, folders and all. Pick the guide that matches where you are moving from:
- From Google Workspace — Follow Zoho’s Google Workspace migration guide
- From personal Gmail — Use Zoho’s Gmail migration guide, which runs over IMAP because that is the protocol Gmail exposes
- From Microsoft 365 — Also supported; Zoho’s migration docs cover the full steps
Final Touches — Making It Look Professional
The mail works now. Three small things separate a working mailbox from one that reads as professional:
- Download the mobile app — Grab Zoho Mail for mobile, which is how you reach a free mailbox away from a browser
- Add an email signature — Name, title, and contact details, set once and appended to everything you send
- Customise your settings — Fonts, reply preferences, and notifications, adjusted to the way you actually work
Key Takeaways
- Zoho Mail’s Forever Free plan gives you five custom business emails on one domain, with 5 GB of storage each and no card at sign-up
- The free tier is webmail and mobile only, so budget for a paid plan if your team needs Outlook or another IMAP client
- A domain name is the one prerequisite; everything else is built on top of it
- MX, SPF, and DKIM are what make mail arrive and stay out of spam folders, and DMARC is the fourth record worth adding
- The whole setup takes under an hour and needs no code
- Existing mail migrates in from Gmail, Google Workspace, or Microsoft 365
Frequently Asked Questions
Is Zoho Mail's free plan actually free, or is it a trial?
It is a plan rather than a trial. Zoho lists it as the “Forever Free Plan”, with no card at sign-up, and what you get is bounded rather than time-limited: email hosting for one domain, up to five users, 5 GB of mail storage each, and no IMAP, POP or Active Sync. The promise beside it is that Zoho will “never serve you ads, nor sell your data to third party vendors”. The one catch sits in the asterisk under the plan: “Available only in select data centers”. Confirm it is offered in your region before you build a setup around it.
Can I use Gmail with my own domain for free?
Not as a mailbox. Google Workspace is the product that puts your domain on Gmail, and it bills per user per month with no free tier. Free Gmail will send as your domain: Google’s documentation says “If you own another email address, you can send mail as that address”, once you supply that account’s SMTP details. That workaround now has an expiry date on it. The same page states: “Starting January 2027, Gmail will no longer support the ‘Send as’ feature for third-party email addresses.” A mailbox on your own domain does not depend on it.
Do I need a website before I can have a business email?
No. A business email needs a domain and control of that domain’s DNS records; nothing has to be hosted anywhere. You can register a name, point its MX records at Zoho, and run mail on it for years without publishing a single page. Most businesses want the site eventually, which is a separate purchase. Mail is the cheaper of the two to start with.
What happens when I outgrow five mailboxes?
Look at aliases before you buy seats. Zoho’s documentation notes that “a single-user account can have multiple email aliases, with different domains or even with the same domain”, so sales@, support@ and hello@ can all land in one mailbox instead of consuming three of your five users. When you genuinely need a sixth person, you move to a paid Zoho plan or a different provider. Because the domain and its DNS are yours, that means changing records rather than changing address, so everybody keeps the address already printed on their cards.
Can I get my emails out of Zoho if I leave?
Yes, and it is worth knowing how before you need it. The free tier has no IMAP or POP, which is the usual way to pull mail out of an account, so the route is Zoho’s own export tool: it exports “every single email in the standard EML format, zipped together into .ZIP archives”. EML is a format other mail clients import, so nothing is locked in. The export is simply slower than dragging folders across in a desktop client.
Final Thoughts
A free business email is one of the cheapest credibility upgrades available to a small business: a domain you already need, an hour of setup, and no recurring bill. The DNS records are the only part that demands care, and the table above covers what usually goes wrong with them. Get those right and everything after it is just email.
Need Help Setting This Up?
Email is one piece of a business’s online presence. If you would rather not spend an afternoon in a DNS zone editor, or you want the whole setup handled at once, that is what we do. At ClubUnbrick, we get entrepreneurs and small businesses running quickly and affordably.
What We Offer
- Professional Email Setup — We configure Zoho Mail or custom domain emails for you from start to finish
- DNS Configuration — We handle all MX, SPF, and DKIM records so your emails work perfectly
- Website & Domain Setup — Get your full online presence up and running from scratch
- Ongoing Technical Support — We’re here if anything needs tweaking down the line
Want to talk it through first? Contact us and we’ll take it from there.